
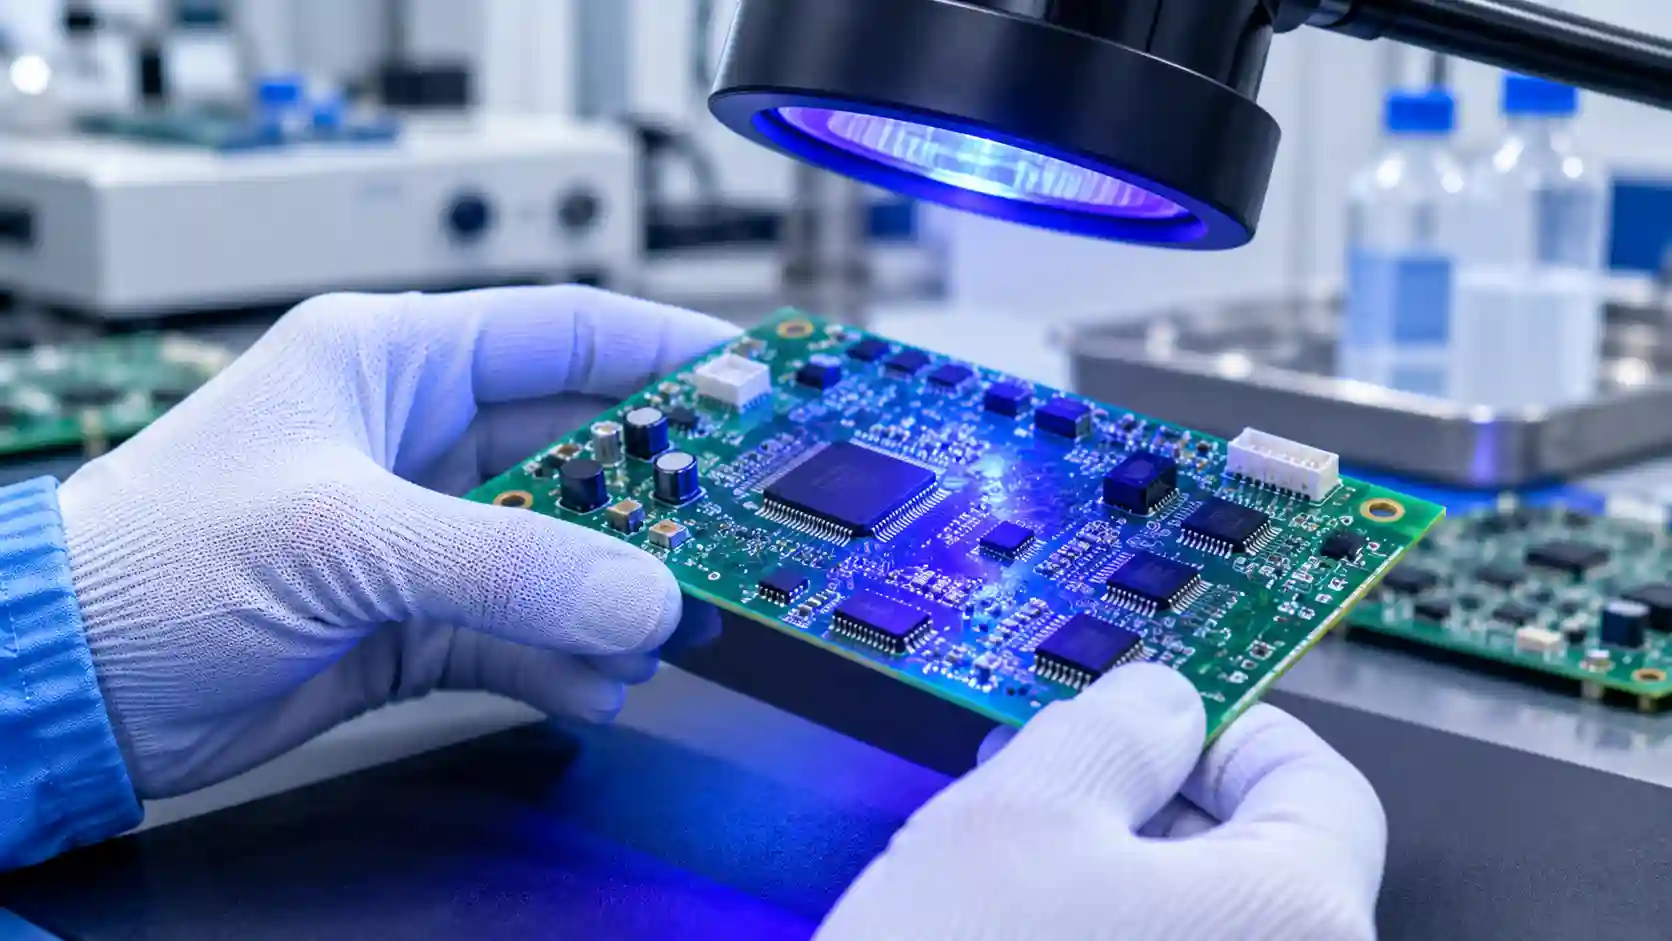
A coating that looks fine on the first board can still fail on the hundredth. That is why testing matters before a big order. When you validate acrylic conformal coating, you check that it works on your real boards, with your own cleaning, coating and drying steps.
Without this check, small problems grow fast. The coating may miss spots, stick poorly or dry the wrong way. This guide shows a simple way to test PCB conformal coating, so your team can approve the process with proof, not guesses.
Even if the coating appears to be perfect after the first board, it can still fail on one hundredth. That's why testing before a large order is important. When you validate acrylic conformal coating, you're validating the coating process on your actual boards using your cleaning, coating and drying processes.
Quick small problems. Covering will fail on edges, show rough patches or the wrong surface tension (stickiness) when dried. This guide provides an easy way to evaluate PCB conformal coating, so your technicians can validate the procedure with certainty, not hunch.
Why Is Acrylic Conformal Coating Validation Important?
Validation provides a process you can rely on. A reliable PCB coating quality ensures consistent coating quality through every shift, providing confidence that your product is being protected as expected.
It's also helpful to be familiar with these two checks:
- Material qualification (i.e. a benchmark for the coating).
- Testing at the assembly level demonstrates how the coating performs on your board.
Both concerns matter, but only the second tells you whether your line is ready. In addition, a good acrylic conformal coating testing provides the quality team with records you can pass onto the customers.
7 Essential Steps to Validate Acrylic Conformal Coating for PCB Production
These follow a logical progression to get you from the paperwork to a thumbs-up for production. Go through all the steps in sequence as each one is in the context of the previous. This is where conformal coating validation is all about.
1. Review Coating Specifications and PCB Requirements
First, a technical data sheet. Like every test, it begins with the technical data sheet. Measure these acrylic conformal coating specifications against the conditions where your product will operate, because a board in a wet factory will need more proof than one in a dry office. The correct PCB protective coating is one that fits your board, your process and your environment.
The following table shows what the data sheet says and what you should check on your own line.
| Specification | What the Data Sheet Says | What to Check During Validation |
|---|---|---|
| Film and appearance | Acrylic resin that dries into a thin, clear layer | A clear film is hard to see, so plan bright light or UV inspection |
| Application method | Spray, brush or dip | Confirm your chosen method in a pilot trial and record the settings |
| Drying and curing | Air drying or heat curing, fast drying that depends on conditions | Record real temperature, airflow and time, and confirm full cure |
| Viscosity | Made for coating use | Check that it flows well on your own equipment, batch after batch |
| Compatibility | Suits PCBs and electronic components | Test on your own board materials and mask connectors |
| Shelf life and storage | 12 months when sealed; keep in a cool, dry place | Log the batch number and expiry date for every run |
| Compliance | ISO and RoHS standards | Keep the compliance papers with your validation records |
For full product details, visit our Acrylic Conformal Coating page.
2. Verify PCB Cleaning and Surface Preparation
A coating will cling optimally to a clean surface. Dirt hiding on a board may cause a coating to eventually pull loose from the board. Check for excess soldering flux and oil from fingers, as well as moisture inside the board.
Confirm your cleaning process is PCB and coating safe. Next, confirm the boards are genuinely clean, either with a contamination test or by eye inspection of the surface. Cleaning the PCB before conformal coating is the cheapest solution to ensure conformal coating adhesion.
3. Select and Verify the Coating Application Method
Three options are standard and work well for a specific task:
- Spray: Provides even coverage on busy boards, but requires good masking.
- Brush: Suitable for small batches and touch-ups.
- Dip: It is fast for a lot of boards but requires a slow steady lift.
Cover connectors, test points and keep out zones prior to coating, and note your settings. Once you find the best acrylic conformal coating application, stick to your PCB coating methods.
4. Conduct Pilot Trials and Adhesion Checks
Coat a few boards that are similar to your actual ones. Be sure to include a crowded board, because it's in tight spots where we have problems with coating. Look out for dewetting, which is when the coating pulls back and exposes patches.
Then perform an acrylic conformal coating adhesion test, either cross-hatch or tape on sample coupons. Set a passing criteria before starting. Proper PCB coating testing at this phase catches issues early and so is less expensive to correct.
5. Verify Drying, Curing and Coating Thickness
Apply the real conditions from your line, not the ones you see on paper. Record the temperature, airflow and time. Then make sure that the coating is totally dry before anyone touches or packs the boards.
The thickness counts too. Coat with a wet film gauge and measure with a micrometer or eddy-current gauge on coupons. The majority of acrylics tend to hover around 25-75 microns, but you should follow your data sheet. Good acrylic conformal coating curing and consistent conformal coating thickness yield uniform protection.
6. Inspect Coating Coverage and Surface Quality
Hold each pilot board up to a bright light. Your coating is a glowing tracer; include a check for UV light, which makes thin areas very visible. Search for these issues:
- Bare spots near leads and edges
- Bubbles & small holes
- Coating that bridges between close pins
- Additional coating in areas that should remain free.
A written checklist for PCB conformal coating inspection is more effective than a cursory look. It can also enable your team to identify typical conformal coating defects and determine the reason.
7. Perform Reliability Tests Before Production Approval
The final stage is to determine its response to stress. Select tests that apply in the application: humidity cycles, hot and cold cycles, insulation resistance tests and a complete operational test of the board afterwards.
Record each result, the board numbers, test conditions and coating batch. This step validates the acrylic conformal coating reliability and finally wraps up your PCB coating qualification before manufacturing.
How to Establish Acceptance Criteria for PCB Coating Validation
Validation only works where "good" is well defined. Leave opinions at the door and measure using numbers, and more numbers, backed up by photos. Establish your conformal coating acceptance criteria prior to the pilot run to ensure consistent board evaluation.
Set the thickness range for each part of the board, the maximum number of defects allowed, and the minimum adhesion result that you still consider a board to be passing. Then note the electrical and environmental test results needed for the finished board and the required cure time and temperature.
Keep all this together with the process sheet approved, and maintain a record of coating batch number on each and every run. Good PCB coating quality control enables you to produce the same result on any day.
Common Mistakes to Avoid During Acrylic Conformal Coating Validation
The major acrylic conformal coating problems can be traced back to a handful of bad habits. Keep an eye out for these:
- Avoided the cleaning checks because the boards seem to be clean.
- With the cure settings that weren't ever tested on your line.
- Ignoring coating thickness until something fails
- Leaving half of the masking on, thus coating the connectors.
- Relying solely on your eyes, as you can't always see things like thin film or poor adhesion.
Avoiding these habits makes conformal coating testing faster, cheaper and more dependable.
Why Choose IMTronics Technology for Acrylic Conformal Coating?
The right supplier simplifies validation. There's no substitute for expert guidance from a trusted source. IMTronics Technology provides coatings and clear advice you can rely on. Select us and benefit from:
- Top-notch quality products for demanding PCB production.
- On schedule so your lines keeps moving
- Support bulk volume ordering as your production increases.
- Helpful tips to selecting the best coating for your boards
Every order from IMTronics Technology comes with the same care, from the first enquiry to the final delivery.
Conclusion
Productive protection relies on a straight-forward sequence. Read the specs, clean the boards, verify the procedure, execute the pilot, watch your treatment and thickness, verify your protection and check your reliability. If you set your go no-go selections and steer clear of the usual shortcuts, your coating method is going to be organized for actual output.
Check specifications on products you are making using the coatings. Then get in touch with IMTronics Technology for various coating materials from top rated acrylic conformal coating manufacturers in India.
Frequently Asked Questions
The teams end up with a handful of sample boards. They verify coverage, adhesion and thickness. Next they perform the electrical and environmental tests that are appropriate for the end product.
Apply a wet film gauge as you go. Take dry film measurements on coupons with a micrometer or eddy-current gauge. Match the reading to the range in your data sheet.
No, it is not. Only the coating material has been verified by IPC-CC-830, not your processes. You will need to trial it on your own PCB assemblies.
The most typical cause is dirt like flux, oil or water. It may be due to incorrect viscosity too. Proper cleanliness testing usually corrects the issue.
Yes, acrylic is relatively easy to patch. You just need to pick the right solvent to get it off your work in a small patch. Then, you just apply the patch and reassess.
Test again whenever you change the board design, batch of coating, cleaning process or machine. Many teams test on a schedule as well. Keep your records current.